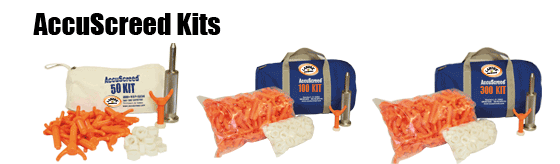
LANDRE™ AccuScreed® Product Applications
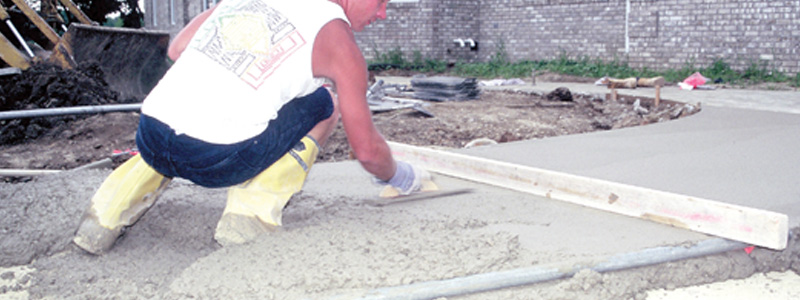
The AccuScreed© System has become even more versatile and cost effective than before. AccuScreed allows one person to quickly and accurately set multiple screed locations and to strike off concrete within very precision tolerances, either by handed or with a light-weight power screed.
AccuScreed® Applications...
|
Structural Slabs, Bridge Approaches, And Deck Applications
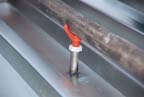
For steel or wood deck, tack weld or epoxy a stub of conduit to the deck. Insert the threaded AccuScreed Yoke with a 5/8" AccuScreed Nut. Adjust the Nut to raise screed pipe to the precise elevation. As deck deflection occurs, adjust the Nut to reset exact elevation. Removal of power screed or screed pipe is not necessary.
|
|
Application for Resurfacing Existing Floors
Hammer drill a hole approximately 2" deep into existing floor. Insert the threaded AccuScreed Yoke with a 5/8" AccuScreed Nut. Adjust Nut to raise screed pipe to precise elevation.
NOTE: Steel Deck Application - Precision in elevation requires maintaining tolerance during adjustments. Using chairs alters the tolerance even with a simple 1/2 turn. AccuScreed remains in tolerance even when adjustments are required. Unlike chairs, AccuScreed remains congruent and stable.
|
 |
Pouring Overlays Less Than 2" Thick
When using the AccuScreed System to pour thin overlays, you will be hanging your strike board off of the screed pipes. To set, drill 5/8" holes into the existing floor at the desired screeding locations. Sets made ten feet apart are usually optimal. Insert the necessary length of conduit into the holes. This length is determined by the depth of holes, thickness of overlay, and width of the strikeoff board. The strike-off point (bottom of the board) can be adjusted by turning the Nut up or down to the desired elevation. The maximum adjustment will be one inch, up or down. Once the area is struck off, remove the screed sets, then fill. When the entire width can be struck at once, the overlay can be applied with the screed set outside of the pour.
|
Achieving Precision Grades or Bases for Pavers/Decorative Stone
The strike off point for this method will be below the bottom of the screed pipes. Strike off boards with notches or cleats attached are required. The width from the bottom of the notch or cleat, to the bottom of the screed board, should exactly match the thickness of the pavers to be placed. Screed pipe elevations are determined by paver thickness in conjunction with any fall that is desired for the application. For best results, screed locations are placed prior to adding additional materials to your grades. Once screed locations are set by using the AccuScreed Driver, any strike-off elevation changes can easily be made, by using the Yoke & Nut combinations (different strike board widths for each grade lift, may also prove beneficial). This allows each lift of the sub-grade to be struck-off, and compacted to precision tolerances. Since the pipes remain suspended, it is now possible to lay pavers at the same time as the bedding coarse is struck off. Accomplish this by kneeling on the sub-grade, and working back towards yourself. Just strike the finish grade, and lay the pavers in short increments at the same time. After you have finished an area, simply pull the pipes and Yokes. Next, drive the conduit stakes below grade, and remove the slight amount of excess sand, if any, that formed under the pipes. The Yokes, Nuts, and screed pipe are all retrieved for future use.
Check out the Step-By-Step Installation page for helpful installation tips!
Check out the AccuScreed Application Page for additional information!
Check out the MegaScreed Application Page for additional information!
Check out the Landre Library for helpful information related to installation applications.
Click here to Order Now!
|
|
| AccuScreed and MegaScreed made in America |